

Doory
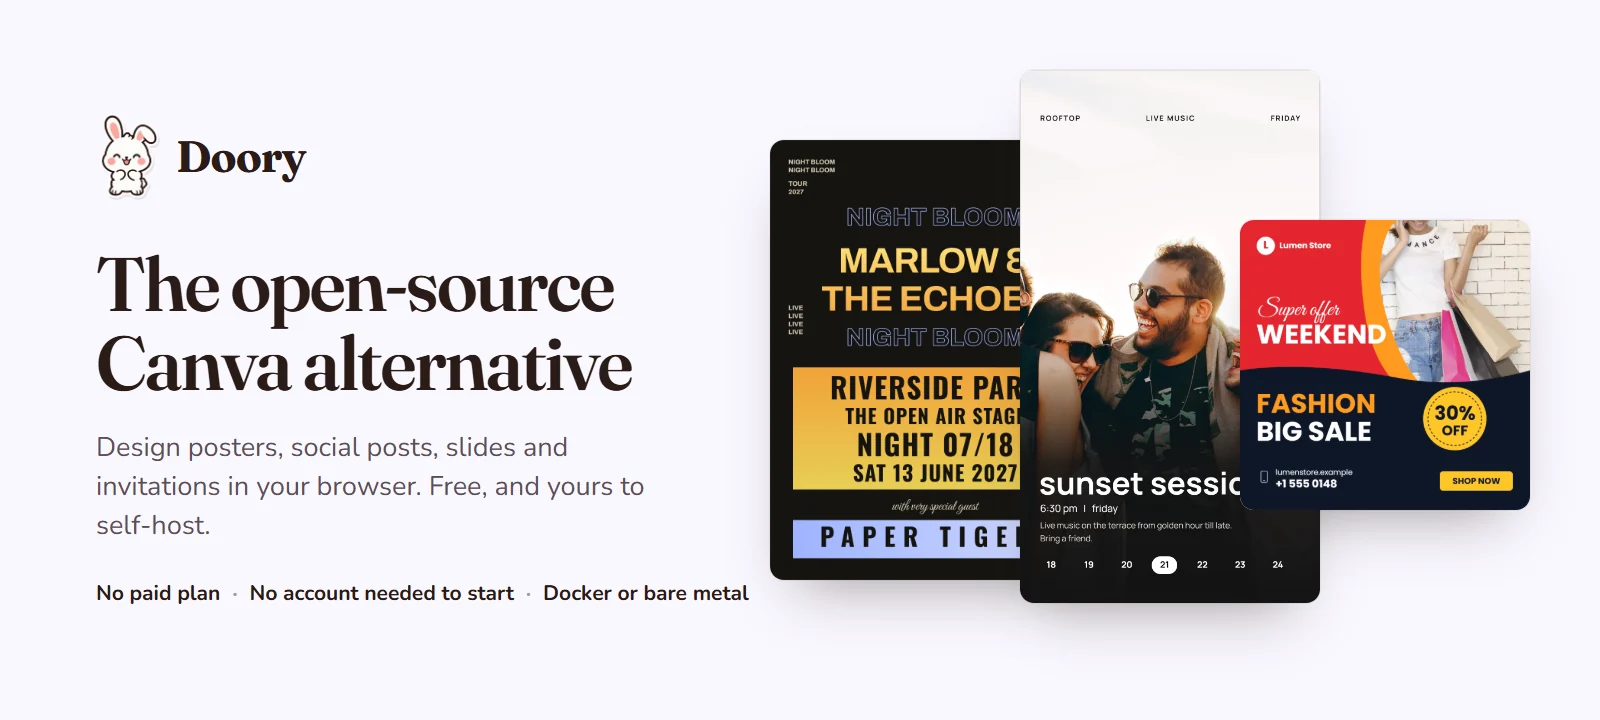
Doory is a design editor that runs in the browser: posters, social posts, stories, slides, invitations, resumes, thumbnails and business cards. You start from a template or a blank page, edit everything on it, and export PNG, JPG, SVG, PDF, MP4 or GIF. There is no paid plan, you don't need an account to start, and you can run it on your own server with Docker or without it.
It is a young project: the editor is complete, the template library is small (ten starter templates), and bug reports are very welcome.

What it can do
 Editing. Tools sit in a rail on the left and open as panels; the toolbar above the page changes with
what you select.
Editing. Tools sit in a rail on the left and open as panels; the toolbar above the page changes with
what you select.
|
 Animation. Enter, exit and emphasis animations, page transitions, music and sound effects. Present it,
or export it as a video or GIF.
Animation. Enter, exit and emphasis animations, page transitions, music and sound effects. Present it,
or export it as a video or GIF.
|
 Layers. Rename, lock, hide, group and reorder anything, or right-click it to copy, duplicate and arrange.
|
 Share and export. One menu for share links, downloads and presenting. Downloads are made in the
browser; print PDFs can have bleed and crop marks.
Share and export. One menu for share links, downloads and presenting. Downloads are made in the
browser; print PDFs can have bleed and crop marks.
|
| Text | Headings, curved text, effects, font pairings, lists, an open-licensed font catalogue and your own fonts |
| Elements | Shapes, lines and arrows, about 25,000 icons, emoji and illustrations, stickers, QR codes |
| Photos | Upload, crop, masks and filters, background removal that runs in the browser, stock photo search with an Unsplash or Pexels key |
| Layout | Layers, groups, alignment guides, snapping, rulers, several pages per design (each its own size), resize to another format |
| Motion and sound | 27 enter and exit animations, 12 emphasis animations, 16 page transitions, 24 music loops and 88 sound effects (CC0), voiceover recording |
| Present | Present mode with speaker notes, timing, auto-advance and a second presenter window |
| Together | Share links that view, comment or edit (with an optional password), pinned comments, version history, real-time co-editing |
| Brand | Brand kits with your colours, fonts and logos |
| Export | PNG, JPG, SVG, PDF, MP4, WebM and GIF |
Templates
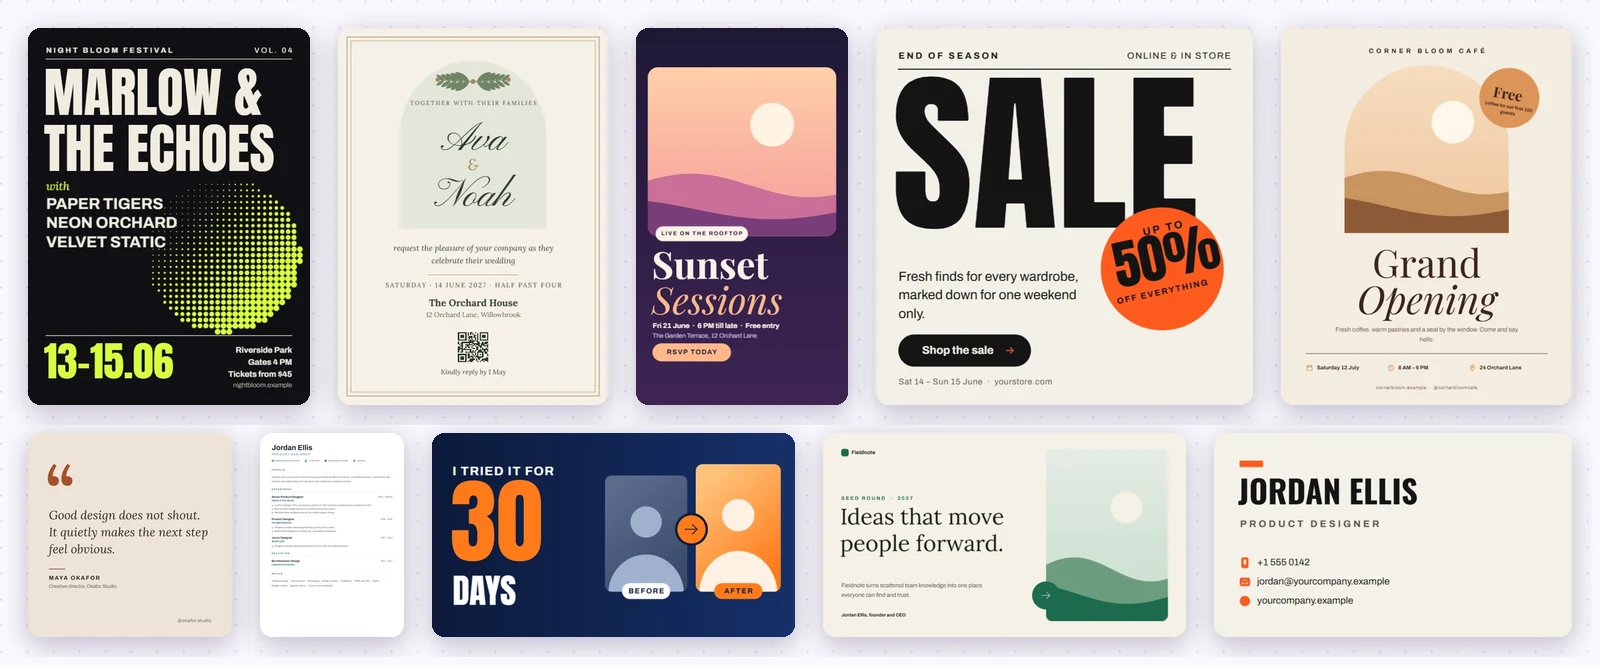
Ten starter templates ship with Doory. Each one follows the layout of the best-selling templates in its category, uses open-licensed fonts and, where it has a photo, a CC0 one. Everything on them can be edited. Admins can add more in the admin site.

Self-host it
cp .env.example .env     # set DJANGO_SECRET_KEY (openssl rand -base64 48) and POSTGRES_PASSWORD
docker compose up -d --build
docker compose exec api python manage.py createsuperuser   # your admin account; nothing creates one for you
Open http://localhost:8080 and start designing. The web container serves the app and forwards /api and
/ws to the backend, so the browser only ever talks to one address.
The admin site (templates, users, content)
The admin site is at /admin/ on your domain, e.g. http://localhost:8080/admin/. Log in with the account made
by createsuperuser; accounts that only signed up on the site cannot open it. There you add and edit templates and
their categories, manage users, designs and uploads, and look after fonts, element packs and audio.
| To | Run |
|---|---|
| Make an admin account | docker compose exec api python manage.py createsuperuser |
| Reset an admin's password | docker compose exec api python manage.py changepassword you@example.com |
| Make an existing account an admin | docker compose exec api python manage.py shell -c "from django.contrib.auth import get_user_model as g; u = g().objects.get(email='you@example.com'); u.is_staff = u.is_superuser = True; u.save()" |
Without Docker, run the same manage.py commands with the manage helper from the guide below.
Add the starter content (templates, icons, fonts, audio)
A new site starts empty. Add what you want once it is running, or set the DOORY_SYNC_* and DOORY_SEED_TEMPLATES options in .env to true and the API container does it on start:
docker compose exec api python manage.py seed_gallery         # template categories
docker compose exec api python manage.py sync_fonts --popular 100
docker compose exec api python manage.py seed_templates       # the starter templates (add --update to refresh them)
docker compose exec api python manage.py seed_elements        # shapes and graphics
docker compose exec api python manage.py sync_element_packs   # icons, emoji and illustrations (download)
docker compose exec api python manage.py sync_models          # background removal model
docker compose exec api python manage.py sync_audio           # music and sound effects
Settings worth knowing (.env)
| Setting | What it does |
|---|---|
SITE_URL |
The public address of the site, e.g. https://doory.example.com (no trailing slash) |
DJANGO_ALLOWED_HOSTS |
The host names the site answers to, comma separated |
SECURE_SSL_REDIRECT, SECURE_COOKIES |
true behind HTTPS, false for plain http:// |
EMAIL_URL, DEFAULT_FROM_EMAIL |
SMTP, e.g. smtp+tls://user:password@smtp.example.com:587 (without it, emails are printed to the API log) |
WEB_PORT, WEB_BIND |
Where the site is published (default 0.0.0.0:8080) |
INSTALL_CHROMIUM |
false skips the headless browser that server-side PDF export needs |
GOOGLE_CLIENT_ID |
Turns on "Sign in with Google" |
UNSPLASH_ACCESS_KEY, PEXELS_API_KEY |
Turn on stock photo search |
USE_S3 and AWS_* |
Store uploads in S3-compatible storage instead of a local volume |
Run it without Docker (a Linux server with nginx and systemd)
Doory is three pieces: the API (Django on gunicorn), the real-time server for live co-editing (the same code on
uvicorn) and the web app, a folder of static files that nginx serves while it forwards /api and /ws to the other
two. The files in deploy/ set this up. These steps are for Debian 12 or Ubuntu 24.04 with the checkout in
/opt/doory; the paths are easy to change. You need Python 3.12, Node.js 22 (only to build the web app) and
PostgreSQL.
1. Packages, a user and the code
sudo apt install python3 python3-venv postgresql nginx git
curl -fsSL https://deb.nodesource.com/setup_22.x | sudo bash - && sudo apt install nodejs
sudo useradd --system --create-home --home-dir /var/lib/doory --shell /usr/sbin/nologin doory
sudo mkdir /opt/doory && sudo chown doory:doory /opt/doory
sudo -u doory git clone https://github.com/shaongitbd/doory /opt/doory
2. The database
sudo -u postgres createuser doory --pwprompt     # pick a password of letters and digits
sudo -u postgres createdb doory --owner doory
3. The API
cd /opt/doory/backend
sudo -u doory python3 -m venv .venv
sudo -u doory .venv/bin/pip install -r requirements.txt
sudo -u doory nano .env                          # paste the settings below
DJANGO_SECRET_KEY=           # openssl rand -base64 48
SITE_URL=https://design.example.com
DJANGO_ALLOWED_HOSTS=design.example.com    # add the server's IP to try it by address
DATABASE_URL=postgres://doory:YOUR_PASSWORD@127.0.0.1:5432/doory
CACHE_URL=dbcache://doory_cache
MEDIA_ROOT=/opt/doory/media
# Plain http:// while you try it out; remove both lines once HTTPS works.
SECURE_SSL_REDIRECT=false
SECURE_COOKIES=false
Then prepare the database and add an admin account:
manage() { sudo -u doory .venv/bin/python manage.py "$@" --settings=doory.settings.prod; }
manage migrate
manage createcachetable
manage collectstatic --noinput
manage createsuperuser
The starter content is added with the same commands as above, e.g. manage seed_gallery,
manage sync_fonts --popular 100 and manage seed_templates.
4. The web app
cd /opt/doory/frontend
sudo -u doory npm ci && sudo -u doory npm run build    # writes frontend/dist
5. Start everything
sudo cp /opt/doory/deploy/doory-api.service /opt/doory/deploy/doory-realtime.service /etc/systemd/system/
sudo systemctl daemon-reload && sudo systemctl enable --now doory-api doory-realtime
sudo cp /opt/doory/deploy/nginx.conf /etc/nginx/conf.d/doory.conf    # set server_name in it
sudo rm -f /etc/nginx/sites-enabled/default
sudo -u doory mkdir -p /opt/doory/media       # uploads; nginx serves them from here
sudo nginx -t && sudo systemctl reload nginx
Open your domain. For HTTPS, sudo apt install certbot python3-certbot-nginx && sudo certbot --nginx, then remove the
two SECURE_ lines from .env and sudo systemctl restart doory-api doory-realtime.
Updating: sudo -u doory git pull, then repeat pip install, manage migrate, manage collectstatic --noinput and
npm ci && npm run build, and sudo systemctl restart doory-api doory-realtime.
Optional: server-side PDF export needs a headless Chromium: sudo .venv/bin/playwright install-deps chromium, then
sudo -u doory .venv/bin/playwright install chromium. Without it, set SERVER_PDF_ENABLED=false in .env.
Develop locally
make setup     # virtualenv, dependencies, local database
make dev-api   # API on http://localhost:8000
make dev-web   # app on http://localhost:5173 (second terminal)
make help lists the other targets (tests, lint, content).
FAQ
Is it really free?
Yes. Doory has no paid plan, no locked features and no ads.
Do I need an account?
No. Guests design straight away and their work is saved in the browser. An account keeps designs in the cloud, lets you share them and use brand kits; signing up moves your guest designs over in one step.
Can I use it for my business or host it for my users?
Yes, as long as you credit the author as the licence asks: keep the licence and NOTICE with it and show the credit in the running app. See License and credit.
Where are my designs stored?
Guest designs and their images live in the browser on that device. Signed-in designs are stored on the server that runs Doory: yours, if you self-host. Uploads can go to a local volume or to S3-compatible storage.
Built with
React 19, TypeScript, Vite, Fabric.js, Yjs and Zustand in the browser; Django 5, Django REST Framework, Channels and PostgreSQL on the server; Docker Compose with nginx, optional Redis and S3-compatible storage.
Contributing
Bug reports, ideas and pull requests are welcome. Open an issue to report a bug or suggest a feature. For a security problem, please report it privately through the repository's Security tab instead.
License and credit
Doory is released under the Attribution Assurance License. You may use, change and redistribute it, including commercially, but you must credit the author: keep the licence and NOTICE with it, and display this credit prominently in the running app:
Doory by Siam, creator and maintainer of Doory — https://github.com/shaongitbd/doory
Third-party software, fonts and content keep their own licences; see THIRD_PARTY.md.

Made with care by Siam and the Doory bunny.